
When dealing with electrical systems, it is crucial to ensure that everything is properly grounded. Whether experiencing issues with household appliances, vehicle electronics, or home lighting, testing for ground can help identify problems in the wiring.
Testing for electrical grounds may seem challenging, particularly for those with little experience in electrical work. However, with the right tools and safety measures, it is possible to perform this task effectively.
This guide will provide the essential steps needed to test for ground using a multi-meter.
Steps To Test a Ground Wire Using a Multi-meter
Turn off the Power Supply: Before beginning, it is crucial to turn off the power supply to the circuit that needs testing. This should be done at the circuit breaker.
Set the Multimeter: Configure the multimeter to measure resistance (ohms). It is advisable to select the lowest resistance range available. Verify that the meter is also capable of measuring voltage.
Connect the Probes: Attach the black probe to the common (COM) socket on the multimeter. Then, place the red probe into the socket marked for resistance (ohms).
Verify Multimeter Functionality: Touch the probes together to confirm the multimeter is operational. A zero resistance readout indicates proper functionality.
Touch the Ground: Place the black probe on a known ground, such as the metal chassis of the equipment being tested.
Touch the Wire: Use the red probe to touch the wire intended for ground testing. The black probe should still be in contact with the stable ground reference.
Observe the Reading: If the wire is correctly grounded, the multimeter will display a low resistance reading. A high reading suggests the wire is not properly grounded.
Test Additional Wires: Repeat the previous steps for each wire that needs ground testing within the circuit.
Restore Power Supply: Once all tests are complete, restore power to the circuit by switching the power supply back on.
| Step | Action |
|---|---|
| Turn off Power Supply | Deactivate the circuit’s power at the breaker |
| Set Multi-meter | Set to measure resistance (ohms); select the lowest range |
| Connect Probes | Black probe to COM socket, red probe to resistance (ohms) socket |
| Verify Multi-meter | Touch probes together; check for zero resistance |
| Touch Ground | Black probe to a known ground (e.g., metal chassis) |
| Touch Wire | Red probe to the wire for ground testing; black probe to metal part |
| Observe Reading | Low resistance indicates proper grounding; high reading indicates a problem |
| Test Other Wires | Repeat steps for each wire that requires testing |
| Restore Power Supply | Reactivate the circuit by switching the power supply back on |
Working with electrical testing requires caution and expertise. Those unfamiliar with these processes should consult a trained professional to ensure safety and accuracy.
How Grounding Protects Your Home from Electrical Hazards
Grounding plays a crucial role in safeguarding your home’s electrical system. When electrical circuits are connected to a common point of reference, usually the Earth, it creates a low impedance path for electrical current to flow during faults or short circuits. This safety feature can prevent electrical shock and minimize potential damage to appliances and wiring.
Proper grounding ensures that, in the event of a fault, the electrical current has a safe path to travel. Without grounding, circuits can become hazardous, as there may be no secure route for the current. This situation could lead to severe electrical shocks or potential fires.
To ensure your home’s electrical safety, verifying proper grounding at all outlets is essential. Using a multimeter can help test for grounding by measuring continuity between the outlet’s ground pin and a known, reliable ground source, such as a metal water pipe. A low resistance reading indicates proper grounding, while a high or infinite reading signals an issue that might necessitate repair by a qualified electrician.
For those uncomfortable with performing these tests, hiring a licensed electrician is advisable. Their expertise ensures that grounding tests are conducted accurately and that any required repairs are safely executed. Proper grounding is not just a regulatory measure; it is a critical step in protecting your household from unexpected electrical hazards.
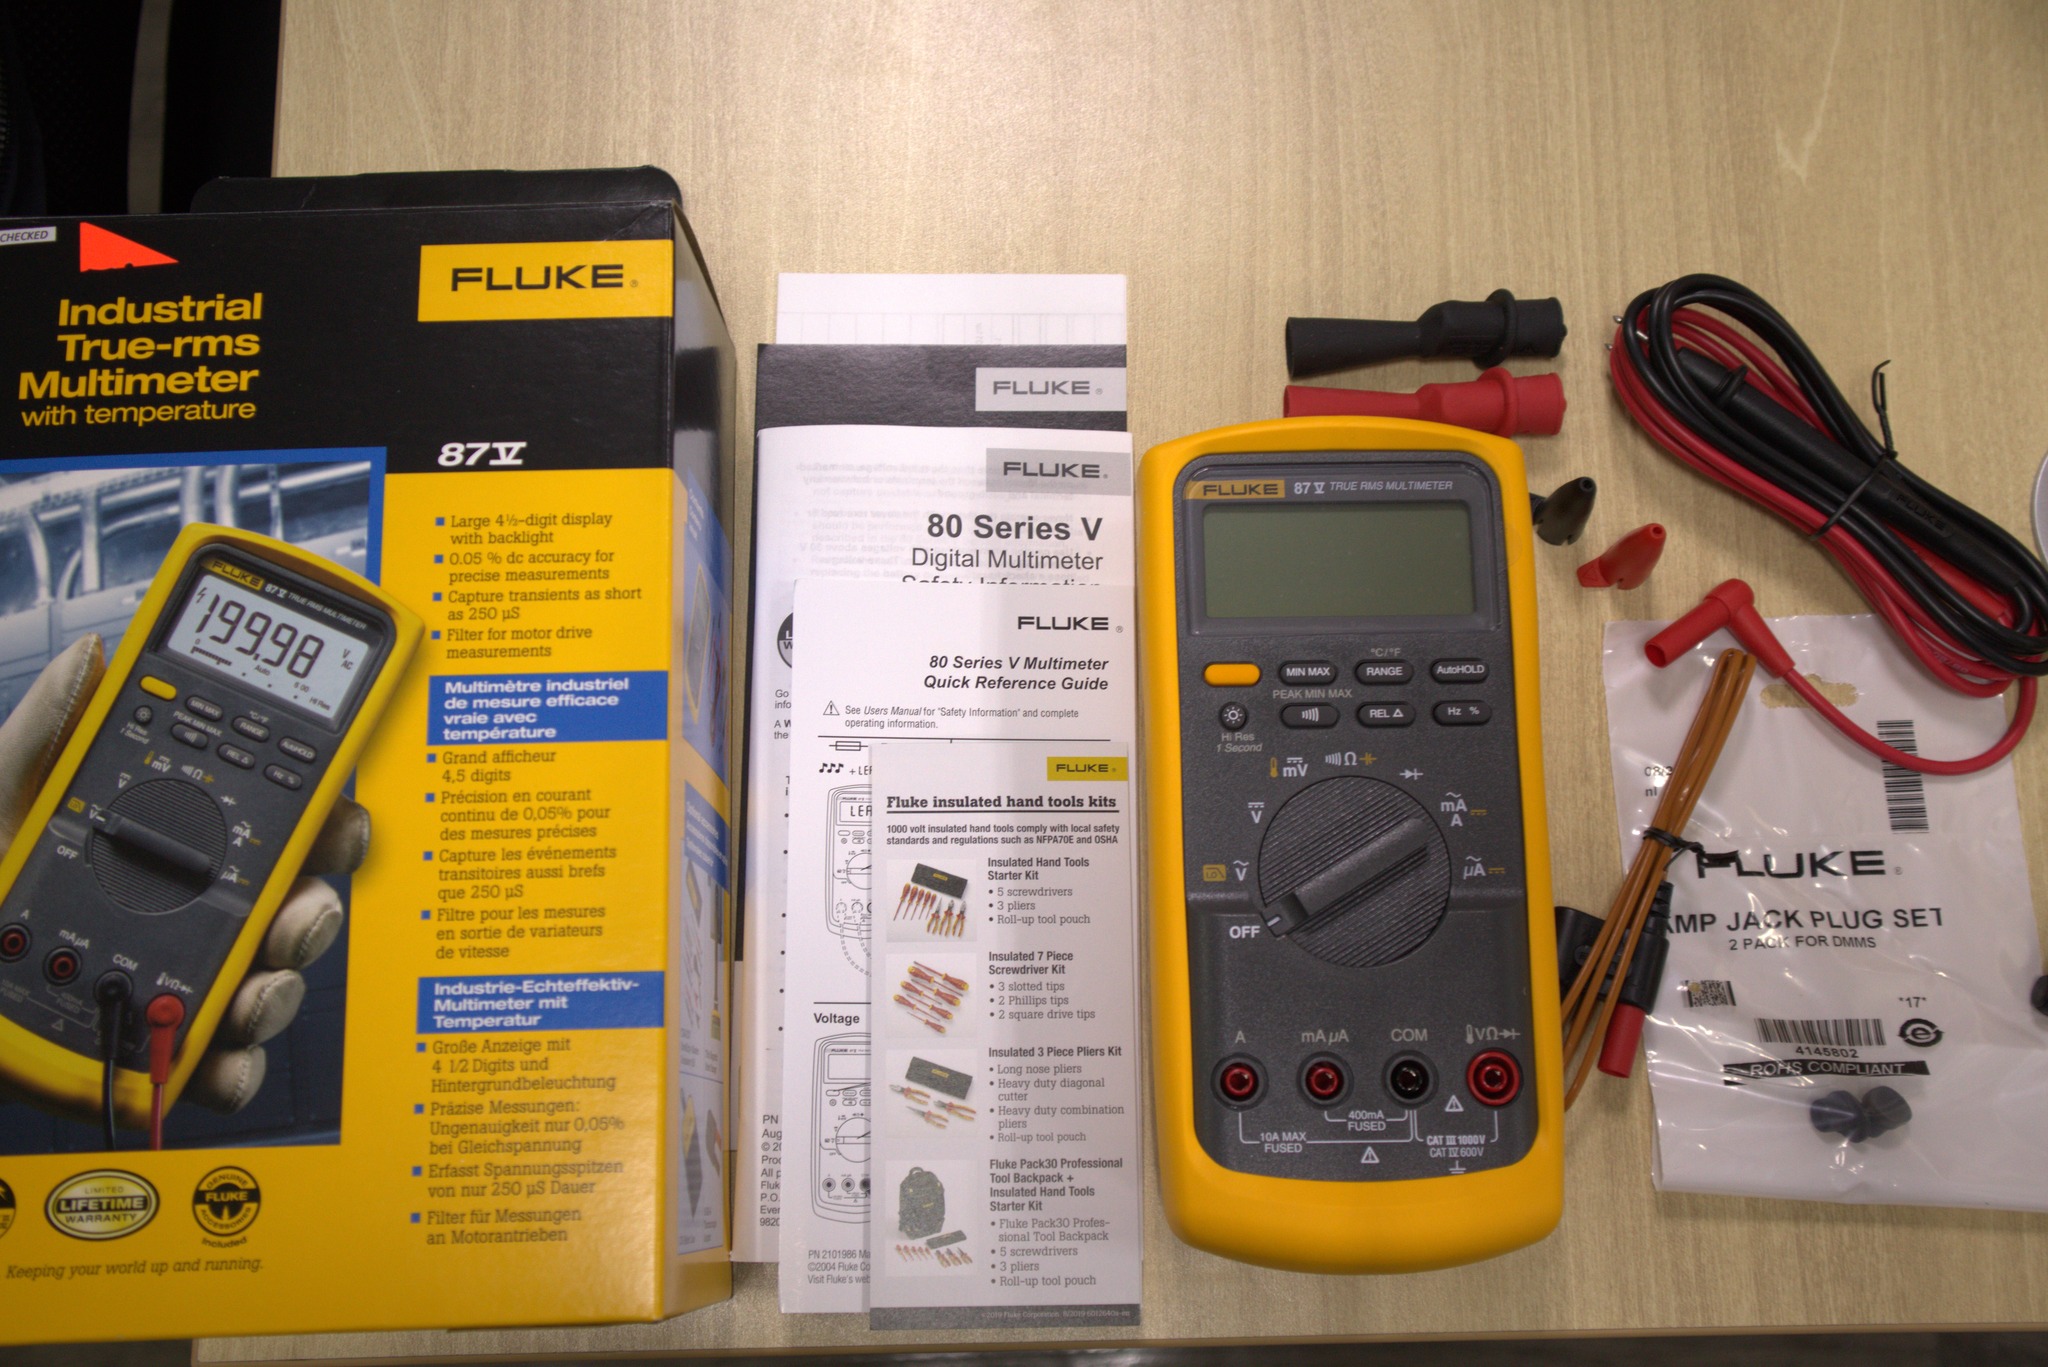
What is a Multi-meter?
A multimeter is a fundamental instrument for anyone engaged in electrical work. It measures voltage, current, and resistance in electrical circuits. Digital multimeters (DMMs) feature two probes, typically one red and one black, which connect to ports or jacks on the device’s surface.
These probes make contact with electrical elements to ascertain their properties. The device includes a dial to set the desired range of measurements. Additionally, a negative battery terminal is present, enabling it to act as a power source when testing ground connections or earth ports.
Why Test for Ground with a Multi-meter?
Testing for ground with a multimeter is a vital procedure when troubleshooting electrical issues and guaranteeing that all electrical connections are correctly grounded. This task is essential for ensuring safety and averting potential damage to the electrical system.
Without adequate grounding, electrical current may flow unrestrained, which can result in significant harm to electronic devices or even cause electric shocks. This emphasizes the importance of testing ground connections to confirm they are secure and functioning properly.
To perform this test, one probe of the multimeter should be connected to the hot wire, while the other probe is inserted into a ground point, such as a three-slot receptacle on an outlet, an engine block, or the negative battery terminal.
Setting the multimeter dial to AC voltage and observing the display will provide an accurate reading. If no reading is observed, it could indicate a faulty ground wire or connection requiring attention.
By executing these tests, proper grounding can be confirmed, thereby ensuring electronic safety and functionality.
Necessary Equipment
Important Safety Gear and Procedures
When engaging in electrical work, equipment is crucial not only for efficiency but for safety as well. Essential tools include wire cutters, pliers, screwdrivers, and a multimeter. For tasks involving wires, specialized tools like crimpers and strippers might be needed.
A highly beneficial yet often overlooked tool is the neon circuit tester. This device uses neon bulbs to detect the presence of electric current in wires or outlets. It’s particularly useful for quickly determining whether a circuit is live before commencing work.
However, neon circuit testers are best suited for low voltage situations and should not be relied upon for high-powered circuits since they might not provide accurate readings.
Having the right tools, such as a neon circuit tester, ensures that electrical projects are completed both safely and effectively. A secure ground connection gives confidence that all electrical connections are safe.
Safety Gear and Protection Measures
Safety is a paramount concern when performing electrical tasks. Eye protection is essential, and using safety goggles can shield against sparks or debris. Before handling any wiring, always turn off the power to avoid any potential hazards.
A “voltage sniffer” or non-contact voltage detector is another crucial tool. It helps ensure that no electricity is active in the wires, offering an added layer of safety.
Understanding basic electrical principles and associated risks is essential for taking necessary precautions. Equipping oneself with the right knowledge and tools significantly enhances safety and success in electrical work.
Final Thoughts
Testing the grounding of an electrical system is crucial for safety and efficiency. Improper grounding can lead to hazards such as shocks or power outages. Regular checks help in pinpointing and correcting any grounding issues, ensuring that the electrical system functions correctly.
Using a multimeter to check grounding can be straightforward. Set the multimeter to measure resistance (Ω), connect the probes correctly, and assess the readings. A low resistance indicates proper grounding, while a high reading suggests potential problems.
For those not confident in performing these tests, professional assistance is recommended. Professional electricians can provide accurate assessments and necessary repairs. Bates Electric offers free estimates to reassure clients that their systems are up to standard.
In summary, do routine grounding checks and seek professional help if needed. This proactive approach can prevent risks and maintain the safety of your home’s electrical system. Stay protected and ensure your electrical connections are secure.